-
 Singapore

Copyright © 2025 Powered by BCI Media Group Pty Ltd
Notification
Select Country
However, when moving from a breadboard to a custom printed circuit board (PCB) using , having an accurate Arduino Pro Micro Eagle library is crucial for success. This article provides a comprehensive overview of how to find, install, and utilize the Pro Micro library in your EAGLE projects. 1. Understanding the Arduino Pro Micro (vs. Micro)
Correct Pin Assignments: Labels match the silkscreen on the actual Go to product viewer dialog for this item. (e.g., RAW, VCC, RST).
Adafruit Eagle LibraryWhile Adafruit focuses more on their "ItsyBitsy" line, their general-purpose libraries often contain compatible footprints for 32U4-based boards.
SparkFun Electronics designed the SparkFun Pro Micro and provides the official, open-source EAGLE library. This is the most reliable source. SparkFun GitHub arduino+pro+micro+eagle+library
Finding the right for an Arduino Pro Micro is essential for creating custom PCBs that integrate this ATmega32U4 board. Since "Pro Micro" usually refers to the SparkFun-style footprint, their official repository is the industry standard. Top Arduino Pro Micro Eagle Libraries
A robust Pro Micro library includes several essential elements:
Look for the device named ARDUINO_PRO_MICRO . 2. Community Repositories (GitHub) However, when moving from a breadboard to a
: Often includes specialized footprints, such as "mid-mount" options or footprints that allow you to solder the controller upside down to save vertical space. ⚙️ How to Install and Use the Library in Autodesk Eagle
Before you send your board to a fabrication house like JLCPCB or PCBWay, verify the library with physical calipers.
The accurately designed pads for the USB connector, which is crucial for surface-mount assembly. Understanding the Arduino Pro Micro (vs
Once you have downloaded the .lbr file, follow these steps to get it into your project:
: It is located in the SparkFun-Boards.lbr file within the SparkFun-Eagle-Libraries GitHub repository .
The physical layout of the board. It features two parallel rows of 12 holes spaced exactly 0.6 inches (15.24 mm) apart. The pitch between individual pins in a row is the standard 0.1 inches (2.54 mm) .
Use the tool on the tPlace (Top Silk Screen) layer to draw the rectangular outline of the module ( 0.7 x 1.3 inches ). Step 3: Create the Schematic Symbol Click the Symbol icon and name it PRO_MICRO_SYM .

Save Company
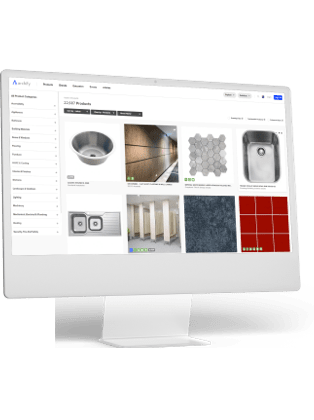
Add All Products to My Library
Send Meeting Request to this Supplier

Copy and Paste URL into Chorus
Not using Chorus to write your specifications?
Contact us to find out more.
Save this Product
Remove this Product
Add to Design Folder